Set It and Forget It: How to Use QR Code Payments for Your Business
Create self-service payment points with QR codes. Accept USDC payments automatically without staff involvement—perfect for add-on services, donations, and unattended sales.
What if your customers could pay without waiting in line, without flagging down staff, without any friction at all?
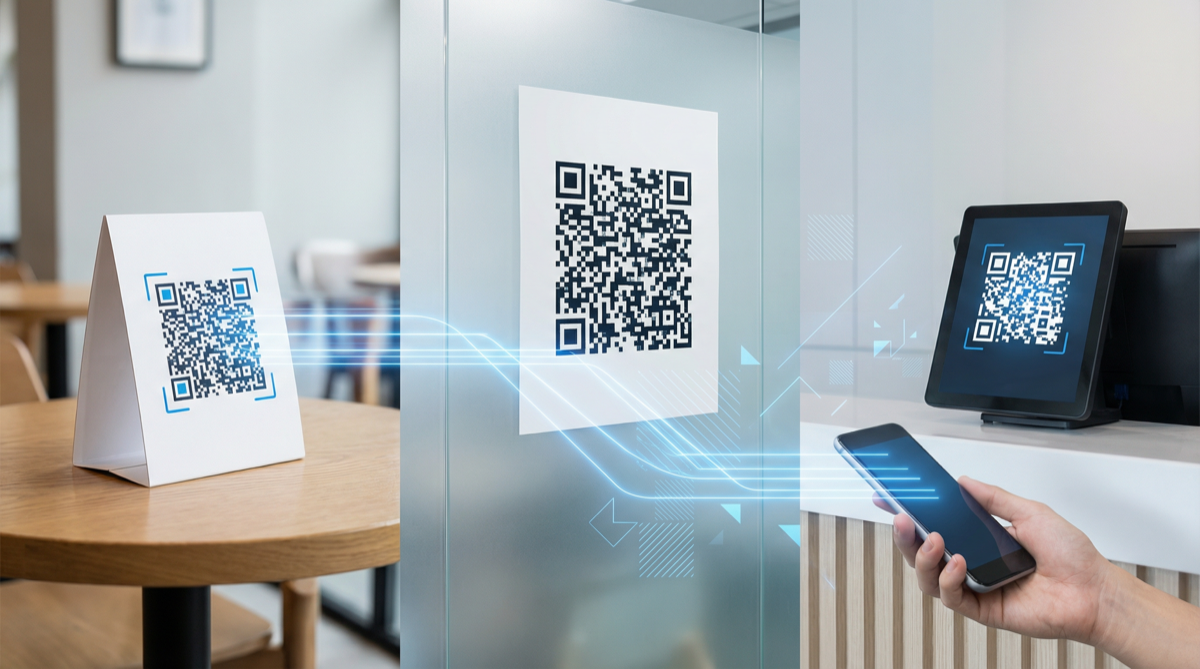
QR code payments make this possible. Print a code, place it where customers need it, and let them self-serve. You get notified when payment arrives. No human interaction required.
With PayinGo, you can create these self-service payment points in seconds—no coding, no hardware, no monthly fees.
The Power of “Always Available” Payments
Traditional payments require a moment: a cashier, a card reader, a transaction. QR code payments remove that bottleneck.
Example scenarios:
| Scenario | Without QR | With QR |
|---|---|---|
| Hotel late checkout | Call front desk, wait, process payment | Scan code in room, done |
| Tip jar at cafe | Find cash, exact change | Scan, enter amount, done |
| Parking payment | Find the machine, hope it works | Scan posted code, done |
| Donation box | Need cash on hand | Scan anytime |
| Bike rental at lodge | Find staff, fill paperwork | Scan code on bike, ride away |
The payment opportunity is always there, whether you have staff present or not.
How QR Code Payments Work
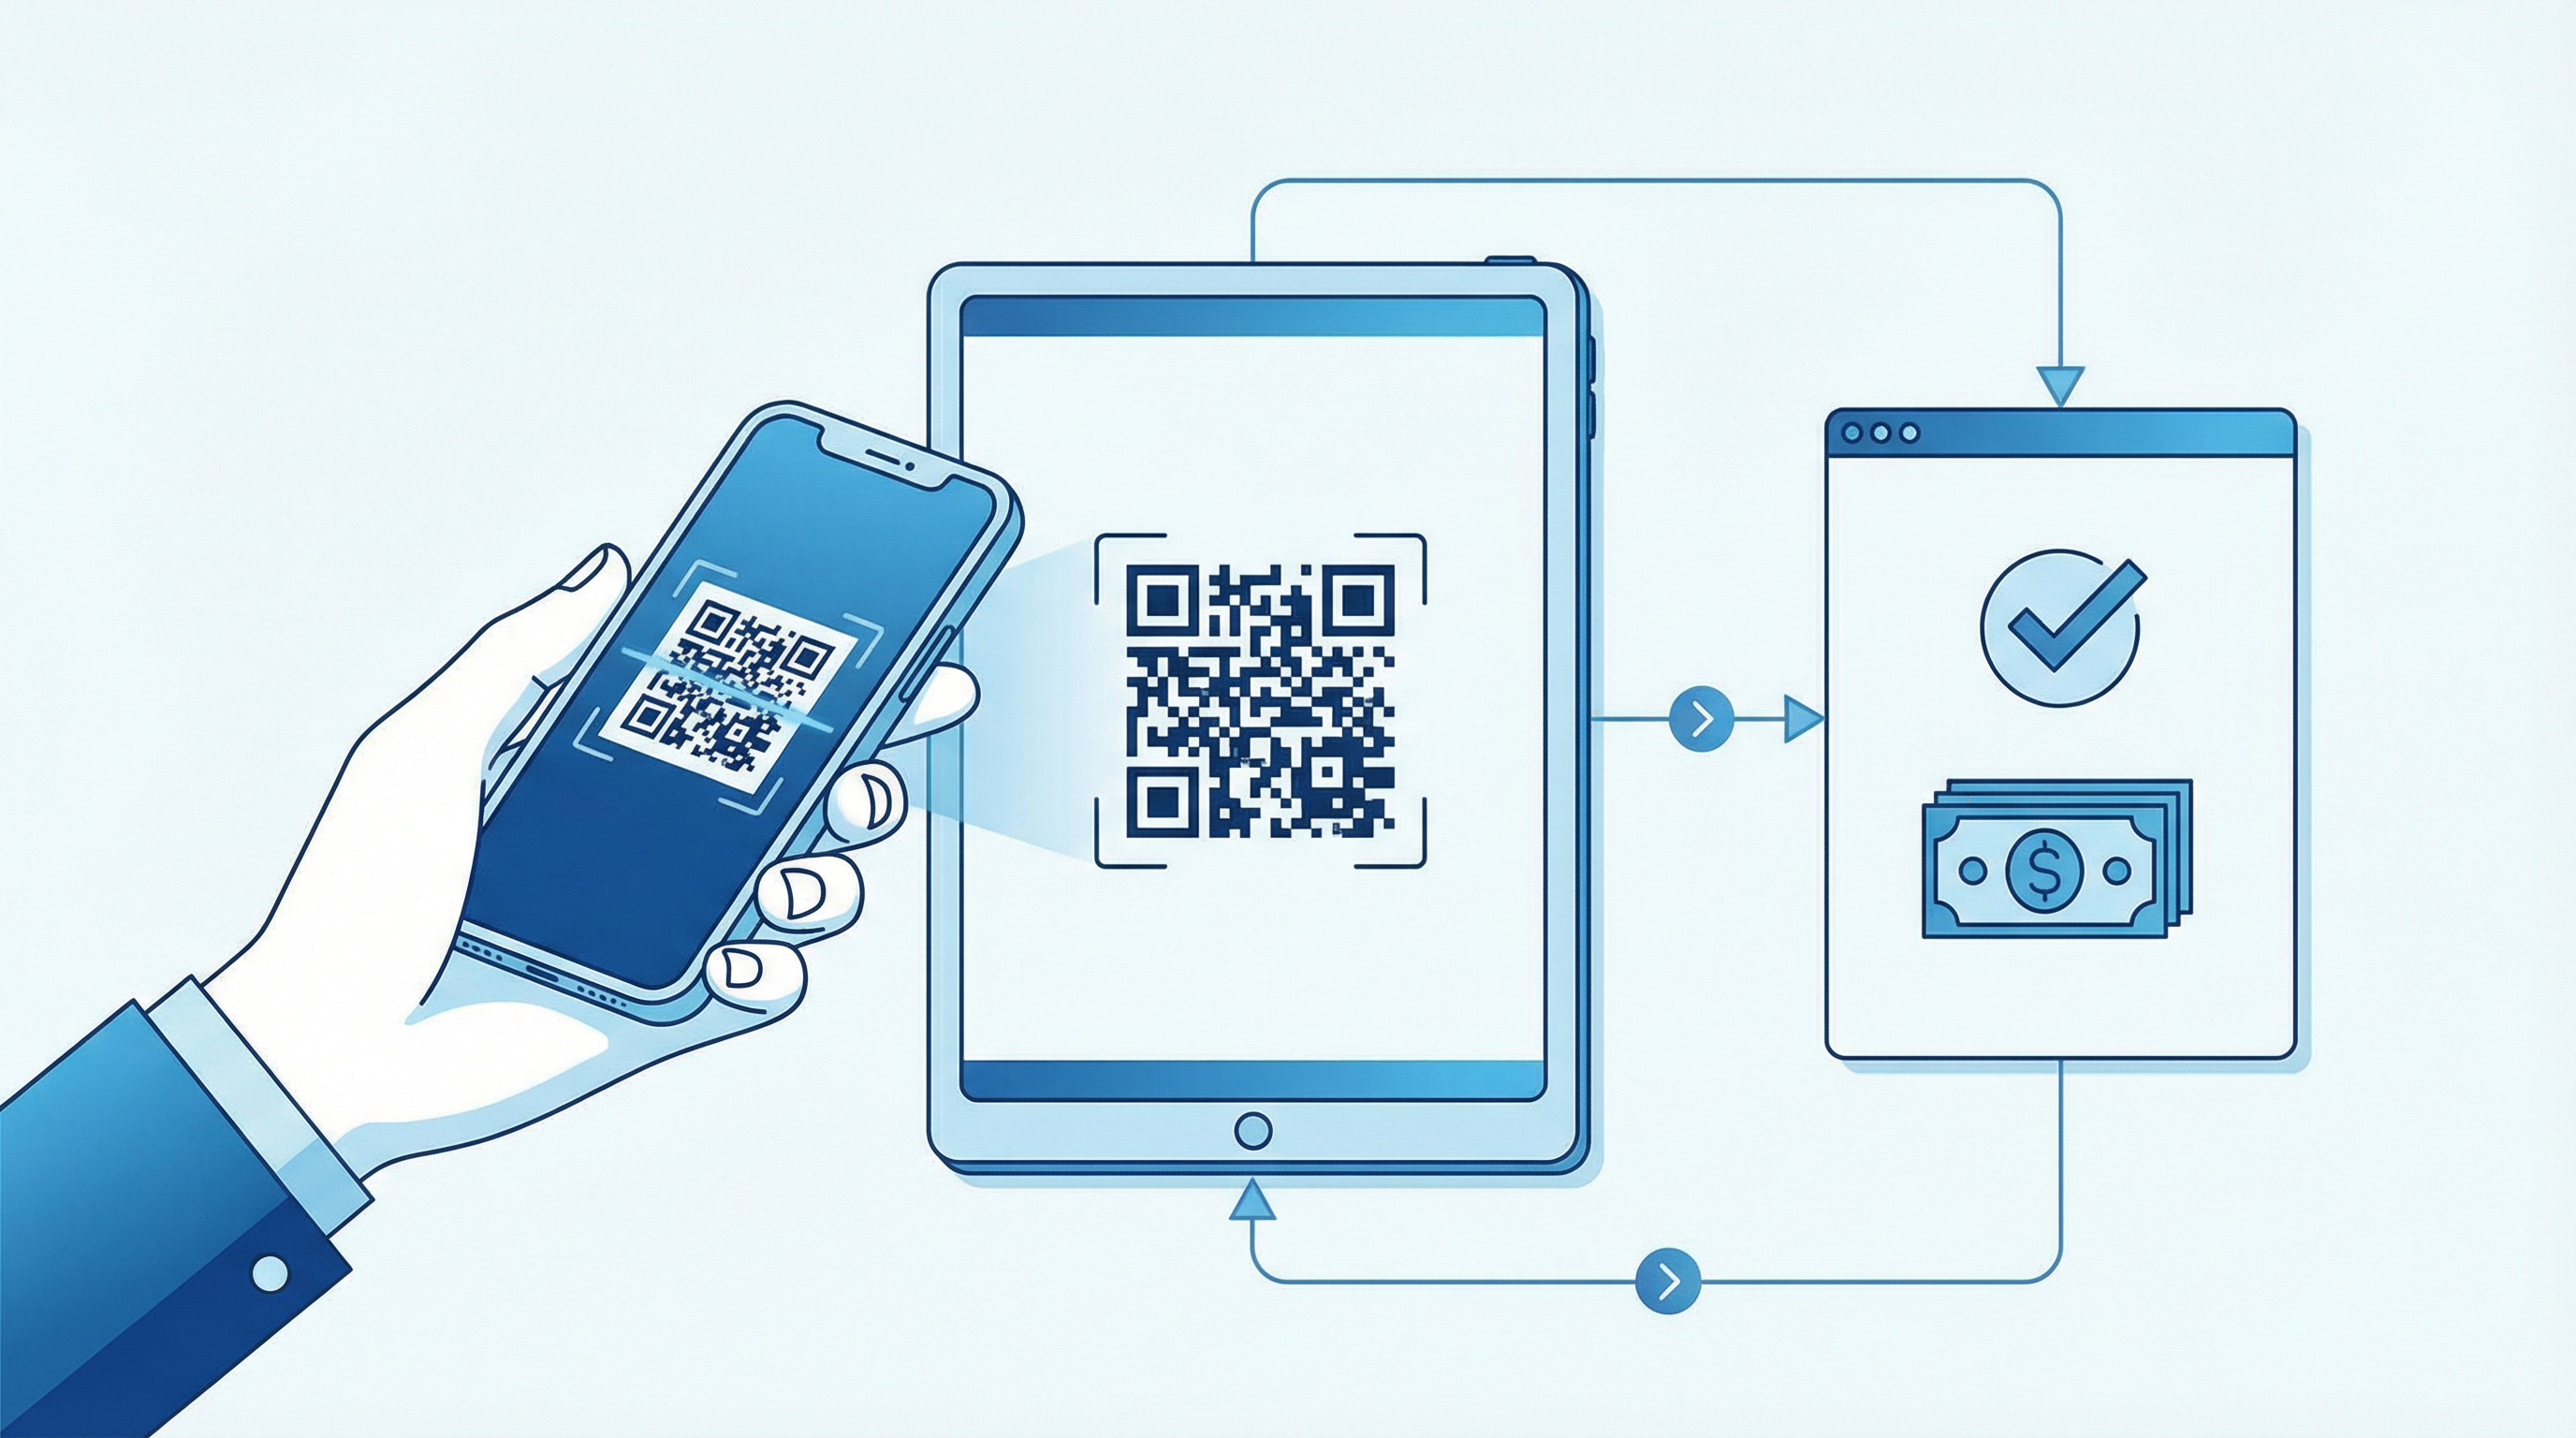
The flow is simple:
- You create a payment link at go.payin.com
- You print the QR code and place it where customers will see it
- Customer scans with their crypto wallet (or phone camera)
- Customer pays the amount (fixed or variable)
- You get notified via email, webhook, or POS screen
- Funds arrive in your wallet instantly
No app for customers to download. No login required. Just scan and pay.
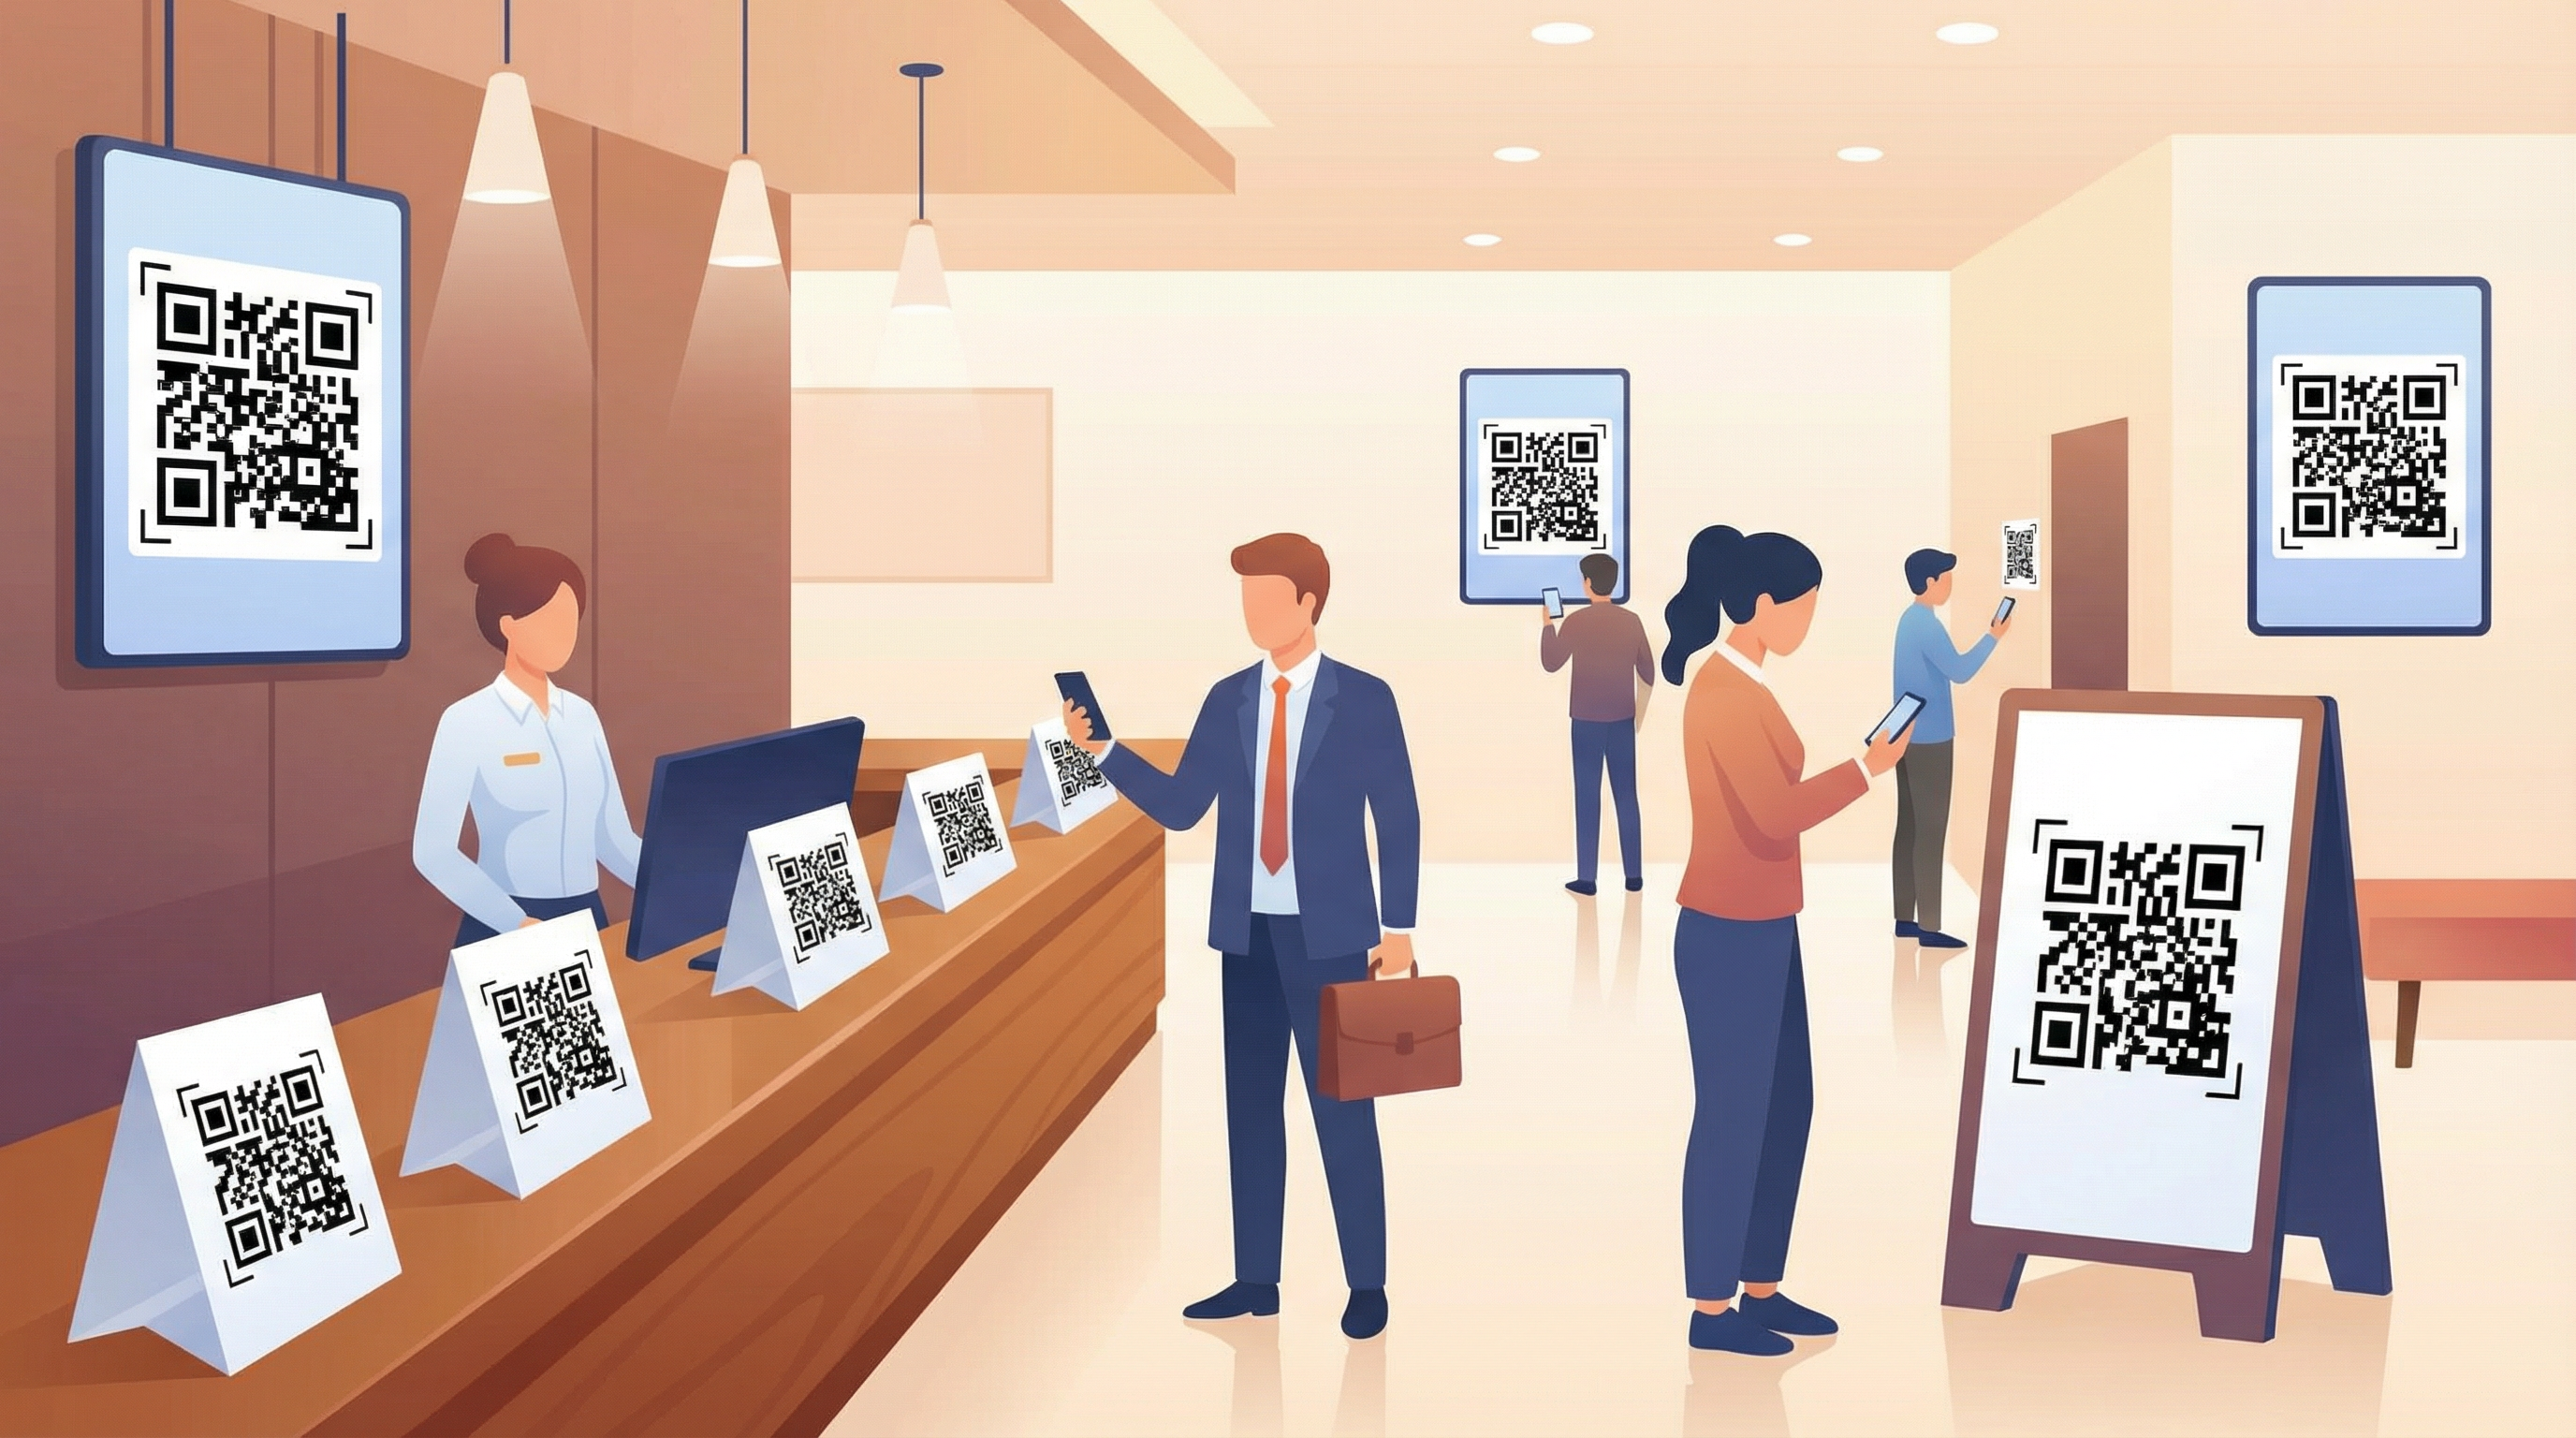
Five QR Payment Setups That Work
1. Service Add-Ons (Fixed Price)
Use case: Extra services with set prices—late checkout, equipment rental, breakfast packages.
Setup:
- Create a fixed-amount payment link ($75 for late checkout)
- Print QR code with clear label: “Late Checkout - $75 - Scan to Pay”
- Place in hotel room, cabin, or rental property
Why it works: Guests buy when they decide, not when you’re available. Many purchases happen late at night when reception is closed.
Pro tip: Create separate QR codes for each service tier. Print them on tent cards or laminated sheets in the room.
2. Tip Jars (Variable Amount)
Use case: Coffee shops, restaurants, service providers.
Setup:
- Create a flexible-amount payment link
- Print QR with: “Tips Appreciated - Scan to Tip”
- Place at counter, on tables, or on receipts
Why it works: Customers who don’t carry cash can still tip. Crypto-native customers often tip generously when given a native payment option.
3. Donation Points (Variable Amount)
Use case: Nonprofits, churches, museums, street performers.
Setup:
- Create a flexible-amount link with organization name
- Display QR prominently: “Support Our Mission - Scan to Donate”
- Optional: Create fixed amounts for suggested donations ($5, $10, $25)
Why it works: Removes the “I don’t have cash” barrier. Donations can happen 24/7, not just when someone’s at the collection point.
4. Unattended Sales (Fixed Price)
Use case: Farm stands, honor-system stores, vending alternatives.
Setup:
- Create fixed-amount links for each product
- Print QR codes with product name and price
- Attach to products or shelving
Example:
Fresh Eggs - $6/dozen
[QR CODE]
Scan to pay, take your eggs!
Why it works: Self-service sales without building a vending machine. Works for anything with honor-system potential.
5. Parking and Access Fees (Fixed Price)
Use case: Parking lots, campgrounds, event venues.
Setup:
- Create fixed-amount links for each fee tier
- Post QR codes at entry points: “Day Parking - $10 - Scan to Pay”
- Optional: Combine with time-stamped receipt system
Why it works: No attendant needed. No machine maintenance. Works regardless of cellular connectivity (customer just needs data).
Creating Your QR Codes: Step by Step
Step 1: Create the Payment Link
- Go to go.payin.com
- Enter your wallet address
- Enter your business/organization name
- Choose: fixed amount or flexible
- Click Create
Step 2: Get the QR Code
Your payment link includes a built-in QR code. Options:
- Screenshot directly from the link page
- Save the QR image for printing
- Generate higher resolution using any QR tool with your link URL
Step 3: Design for Print
Best practices for physical QR codes:
| Element | Recommendation |
|---|---|
| Size | Minimum 2” × 2” for easy scanning |
| Contrast | Black QR on white background |
| Label | Clear text: what it’s for, the amount |
| Protection | Laminate for outdoor/wet environments |
| Placement | Eye level, near the service/product |
Step 4: Test Before Deploying
- Print a test QR
- Scan with your phone camera (should open link)
- Complete a test payment to yourself
- Verify notification arrives
Step 5: Deploy and Monitor
Place your QR codes and use PayinGo’s admin link to:
- View payment history
- See amounts and timestamps
- Verify customer addresses
- Track transaction hashes
Fixed vs. Flexible Amount: When to Use Each
Fixed Amount
Best for:
- Products with set prices
- Service fees (parking, admission)
- Standardized add-ons (late checkout)
- Suggested donation amounts
Advantage: Customers can’t underpay. Clear expectation.
Flexible Amount
Best for:
- Tips
- Donations
- Custom orders
- Variable services
Advantage: Customer controls the amount. Better for generosity-based payments.
Pro tip: You can create both. One QR for “Suggested: $10” (fixed) and another for “Pay What You Can” (flexible).
Notification Options
How you learn about payments:
Email Notifications
Enable email alerts when creating your link. Good for:
- Low-volume scenarios
- Personal monitoring
- Record keeping
POS Mode
Open the POS link on a nearby screen. Good for:
- Staffed locations
- Real-time confirmation
- Visual feedback for customers
Webhooks
Configure webhook URLs for automated systems. Good for:
- High-volume operations
- Integration with other software
- Automated fulfillment triggers
Printing Tips for QR Codes
Your QR code is only useful if it scans reliably:
Materials
- Indoor: Standard paper, laminated for durability
- Outdoor: Weatherproof signage, UV-resistant lamination
- High-traffic: Acrylic stands, metal plates
Size Guide
| Distance | Minimum QR Size |
|---|---|
| 6 inches | 1” × 1” |
| 2 feet | 2” × 2” |
| 5 feet | 4” × 4” |
| 10 feet | 8” × 8” |
Avoid These Mistakes
- Too small to scan at the typical distance
- Low contrast (colored QR on colored background)
- Damaged or warped printing
- Placed where lighting creates glare
- No context (what is this QR for?)
Real Cost Comparison
Let’s compare collecting $500 in add-on service payments per month:
| Method | Monthly Cost | Annual Cost |
|---|---|---|
| Credit card terminal | ~$15 (3%) + $30 monthly fee | $540 |
| PayPal/Square | ~$20 (4%) | $240 |
| Cash (lost opportunity) | Unknown | Unknown |
| PayinGo QR | $0 | $0 |
Plus: no hardware, no merchant account, no approval process.
Common Questions
”What if someone scans but doesn’t pay?”
Nothing happens. No obligation is created by scanning. You’re only notified when actual payment arrives.
”Can someone pay the wrong amount?”
With fixed-amount links, no—the amount is locked. With flexible links, customers choose the amount. You verify the correct amount was paid before providing the service.
”What about refunds?”
QR payments are final (no chargebacks). For legitimate refunds, you’d send USDC back to the customer’s wallet address, which is visible in your payment history.
”Can I update the QR code later?”
The link URL stays the same. You can update settings (like amount or name) through your admin link without reprinting QR codes.
”What if my phone/tablet is offline?”
The QR code itself doesn’t require your connectivity. Customers scan, pay, and you’re notified when you reconnect. Transaction still completes on-chain.
Beyond Basic QR: Creative Uses
- Receipts: Print QR code on receipts for easy repeat orders
- Business cards: “Pay me” QR for freelancers
- Event badges: Attendee-specific QR codes for vendor payments
- Product packaging: “Reorder” QR for direct repeat purchases
- Vehicles: “Tip your driver” on rideshare/delivery vehicles
- Busking: QR stand for street performers
Getting Started
QR code payments require almost no setup:
- Create a link at go.payin.com (30 seconds)
- Print the QR with clear labeling
- Place it where customers will see it
- Enable notifications (email or webhook)
- Start receiving payments
No hardware to configure. No accounts to approve. No fees to calculate.
Set it and forget it—until the payments start arriving.
PayinGo makes self-service USDC payments simple. Create free payment links with QR codes at go.payin.com. No signup, no fees, no limits.